


How to Put the “Home” in Cards
By hand-making the cards, you add a personal touch to it while ultimately saving money.

Cards can be made differently for different occasions, just personalize it!
Cards come in handy for every situation: birthdays, congratulations, baby showers, “get well soon”s, and even condolences. However, buying cards for every situation can become expensive.
By hand-making the cards, you add a personal touch to it while ultimately saving money. It does not need to have fancy drawings or calligraphy to be good enough to give someone, especially if it is someone you care about!
There are businesses and companies that sell expensive precision tools just for projects like these, but be assured that you do not need such tools to make beautiful cards. Buying them will only take up more money and space that is not necessary.
The materials used in this “How To…” are all fairly inexpensive, especially if they are bought a little at a time.
Here are the materials you will need to start hand-making your cards:
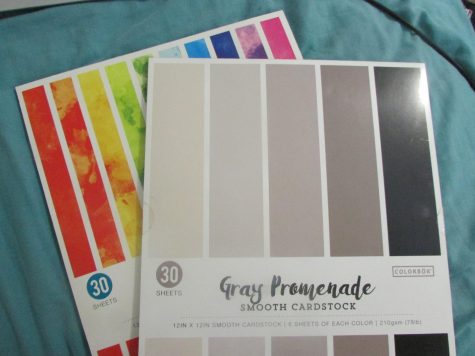
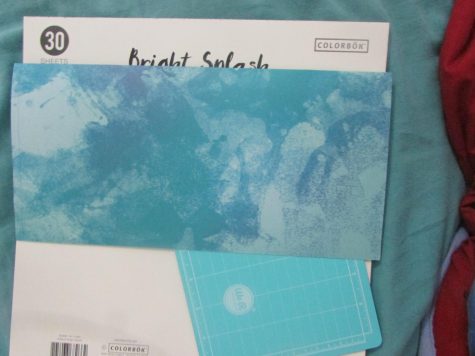
- Cardstock paper (what is shown here is typically used for scrapbooking)
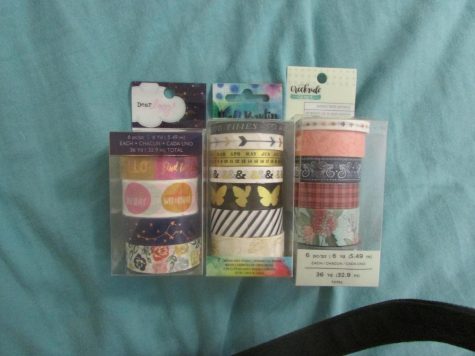
- Washi tape in various patterns and colors
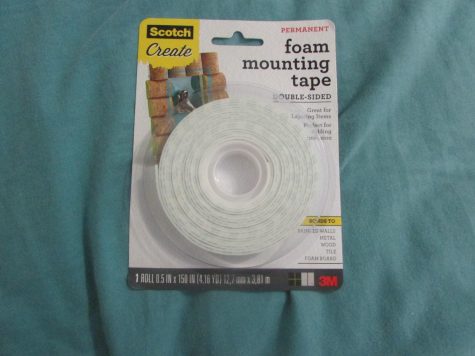
- Foam mounting tape
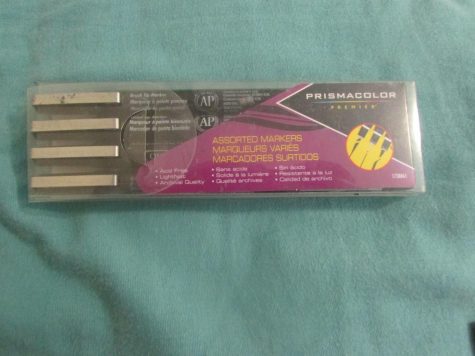
- Pens/markers
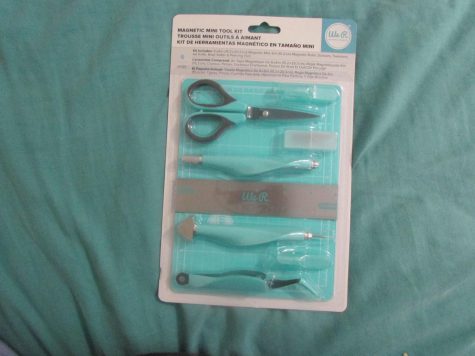
- Craft tool kit
- Scissors
- Tweezers
- Art knife (craft blade)
- Cutting mat
- Ruler
The first card we will be making is a birthday card. It is fairly simple and cute. If you cannot do calligraphy, that is perfectly fine. Your natural handwriting will work just as good (with maybe a little more care if you have messy handwriting) or you can buy booklets of stick-on letters or stencils to use if you do not trust your handwriting to do the job. (The store I bought my materials from did not have these products, so I just used my natural handwriting with pens and markers to draw the letters out.)
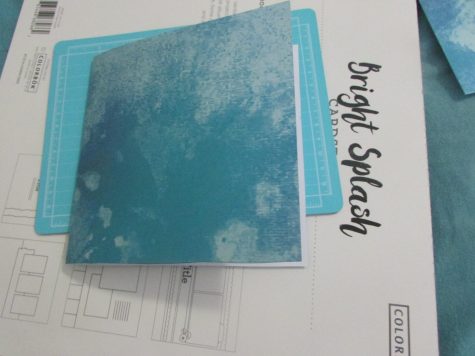
Step 1: Choose the cardstock you want.
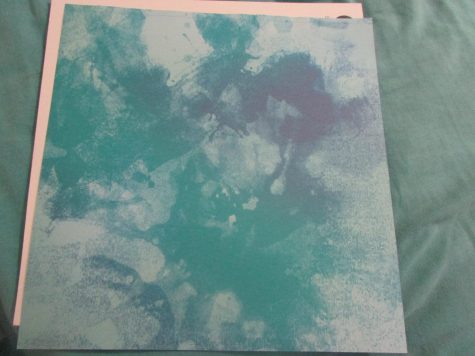
This can either be patterned (like my Bright Splash cardstock) or it can be plain colors. (For things like birthday cards, I usually like to use bright colors that are happy.)
Step 2: Fold the cardstock in half longways so that you create a crease.
Creating this crease will help in having a line to follow when you cut the paper.
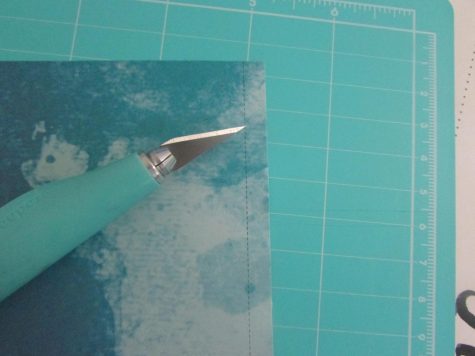
Step 3: Take your art knife (or scissors if you don’t want to handle a razor blade) and cut along the crease in a straight line.
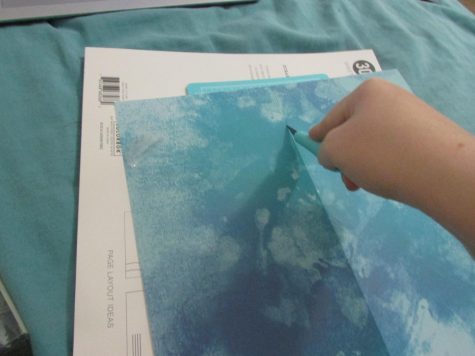
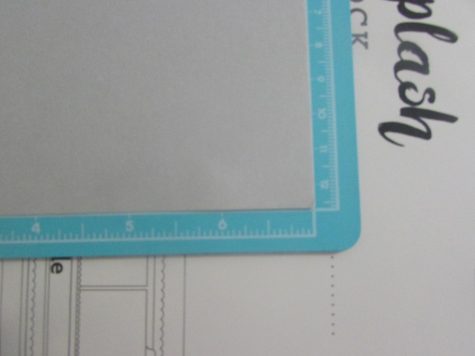
Step 4: Cut along the dotted line at the top of the cardstock, if there is one.
A lot of booklets of cardstock will either have a perforated line or dotted line that you can cut to take the paper out. If you leave the dotted line, it can mess up the look of your card.
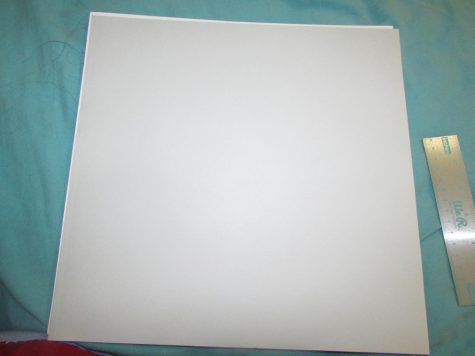
Step 5: Take one half of the cardstock to use as your card. Place the other to side.
Step 6: Take your chosen half and fold it again in half so that it makes a nice square or rectangle shape. Make sure your corners line up so that it doesn’t fold crookedly.
Now, it is time to start on the decorations!
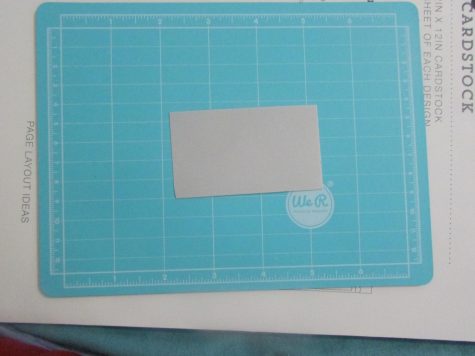
Step 7: Choose a different color cardstock to use as a block to write “Happy Birthday” on.
(I used gray because it matched with some of the washi tape that I wanted to use. When I have white available, I tend to use that.)
Step 8: Line the cardstocks edges with the corners of the ruler on your mat so that you can measure out the block.
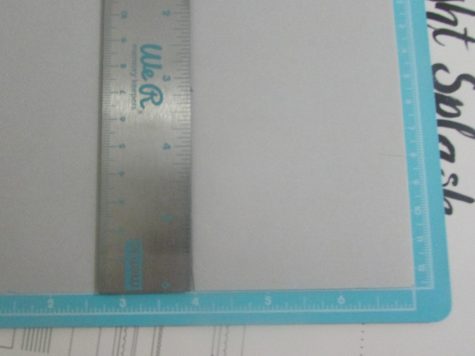
(I made my block 4 inches by 2 inches ( about 5 centimeters). If you get a tool kit like mine that is magnetic, placing your ruler on the cardstock can help to keep it in place as you mark out your lines or cut (depending on the tools you use).)
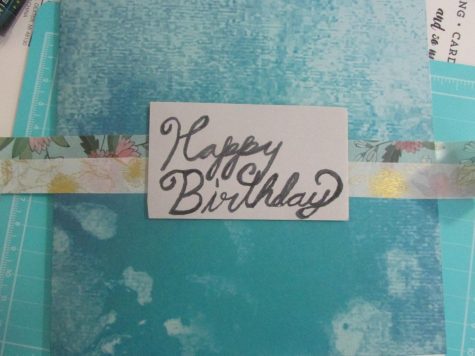
Step 9: Write “Happy Birthday” on the block.
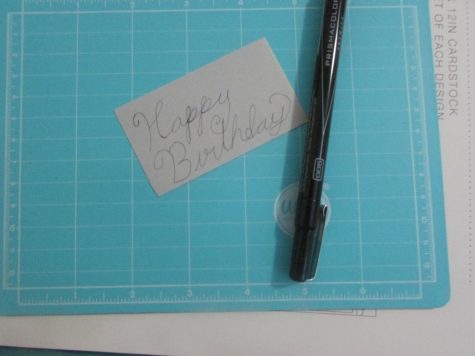
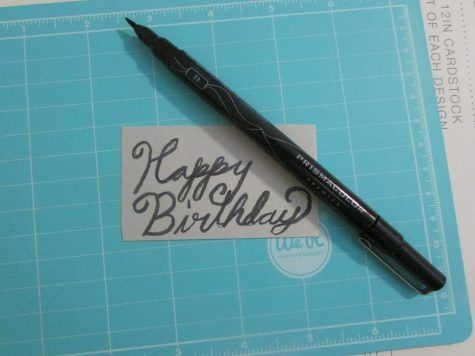
If you want to trace it in pencil before you take the pens and markers to it, please do so. After tracing it out, take a thin-tipped pen (this is a 005 Prismacolor ink pen) to draw it. Then take a brush tip marker and draw it out. If the lines do not match up, just fill in the gaps with the brush tip marker. I wrote mine in a bit of cursive just to make it a little girly and cute. You do not have to do this. As I have said before, either use your normal handwriting or use stick-on letters.
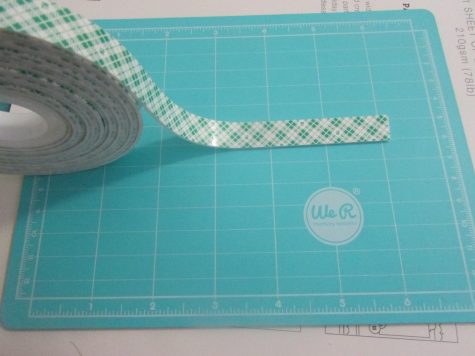
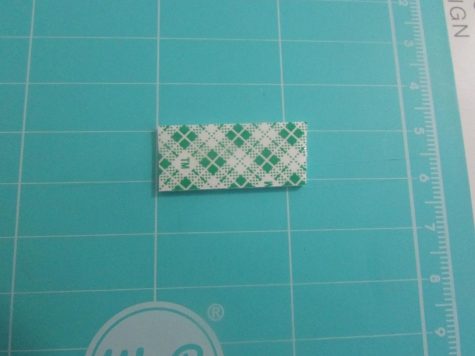
Step 10: Take the foam mounting tape and cut a small rectangle off. This should be no longer than an inch.
Step 11: Cut this strip of foam mounting tape into small squares.
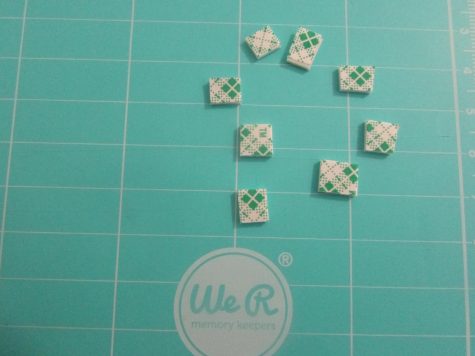
Depending on how big you cut the squares, you can probably get about 4-6 pieces to use.
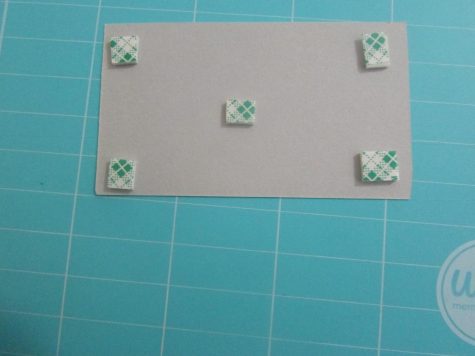
Step 12: Place a square of mounting tape in each corner of the block and one in the center.
Step 13: Place the block on your card. Remember to take the green and white liner off the backs of them!
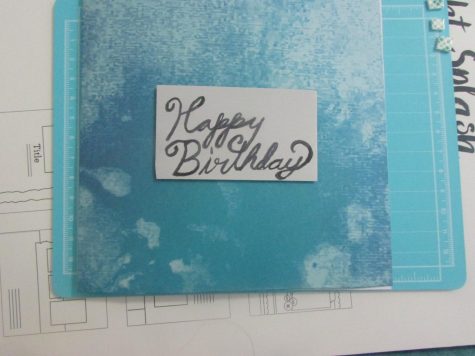
Depending on how you want the card to look, you can place the block in the center of the card, tilt it, or anywhere. Placing the block where you want it will make the card more personal.
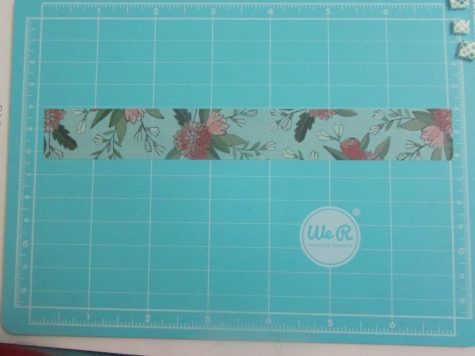
Step 14: Choose your washi tape.
(I went for two floral patterns because I thought they looked really pretty and blended well with the card all together.)
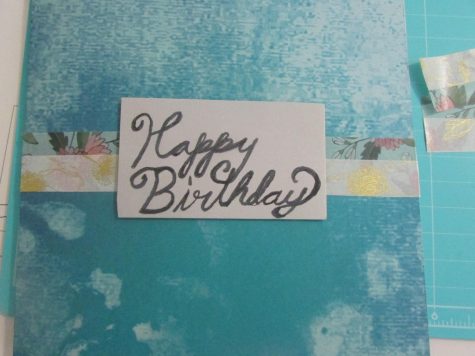
Step 15: Lay out your first washi tape strip (the blue floral was the first here) on your mat. Make sure it will be long enough to span the width of your card. It’s okay to have extra, you will cut that bit off later.
Step 16: Take your second washi tape strip (the white and gold here) and lay it across the first strip, starting halfway up.
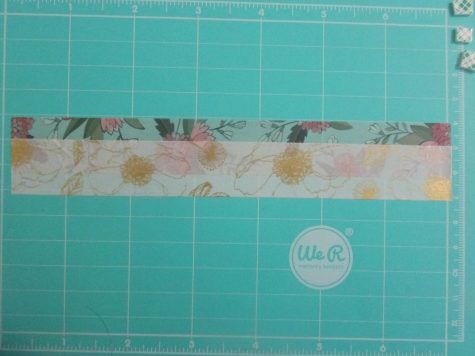
(I laid my washi tape this way because it gives a nice effect, and you can still see the blue floral tape underneath the white and gold.)
Step 17: Cut the tape in the middle.
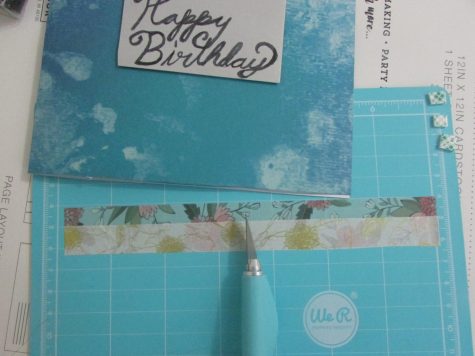
Since we put the “Happy Birthday” block on first, we will be sticking the ends underneath the block. (You may want to take step 15 before 13 depending on the look you decide to go with. It may be easier to lay your washi tape first before placing your block.)
Step 18: Take one half of the washi tape and place an end underneath the block and press the tape against the card when you have it placed where you want it.
Step 19: Place your second half of the washi tape as you did in step 18, on the opposite side.
Step 20: Cut off the extra bits on the ends!
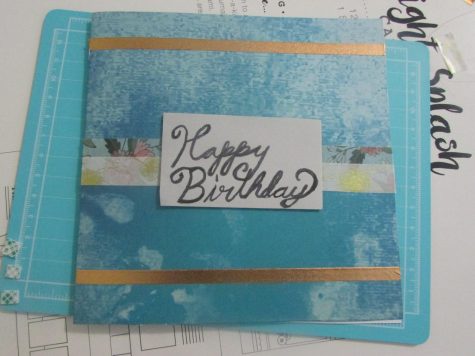
I also went for a smaller gold washi tape to place on the top and bottom of the card to bring out the gold pattern on the white washi tape.
And your done! You have just made a birthday card! Now write your well-wishes on the inside, and you are all done!
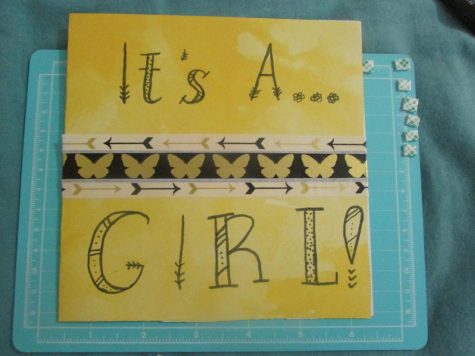
(I also created a card that you can use for a baby shower gift, just to give an extra example of how a card can look using these materials, depending on what you want. If you want to do different styles of text, as on this card, just look up cute, easy lettering to use.)
There you go! Different cards can be made for different occasions, just by changing up the decorations and colors that you use to suit the need. Good luck!

Kjirsten Whitsell is a senior here at Delta State University. She has been a part of The Delta Statement for three semesters. Kjirsten’s hometown is...